
By Sandeep Maurya · Reviewed by Arshi Chadha, Founder
Solar Installation Process in India: Step-by-Step Guide (2026)
- •System size: 3 kW to 10 kW (Typical Residential)
- •Cost after subsidy: ₹90,000 – ₹4,50,000 (Varies by capacity)
- •Installation Duration: 3–5 Days (Physical work)
- •Total Process Timeline: 4–8 Weeks (Including approvals & Net Metering)
- •Monthly Savings: ₹2,500 – ₹12,000+
The solar installation process India has undergone a massive transformation in 2026. Thanks to the PM Surya Ghar Yojana, the journey from an empty roof to a power-generating asset is now more streamlined, digital, and transparent than ever before. However, for a homeowner, the technicalities of structural integrity, electrical wiring, and the maze of DISCOM approvals can still feel overwhelming.
At Bridgeway Power, with over 35 years of engineering excellence, we believe that understanding how to install solar panels India shouldn't require a degree in electrical engineering. Whether you are in a bustling locality like Rohini or a high-rise in Noida Extension, this guide breaks down the end-to-end rooftop solar installation process so you know exactly what to expect at every stage.
The Pre-Installation Phase: Site Survey and Design
Every successful solar installation process India begins not with a panel, but with a measuring tape and a compass. This is the most critical phase where the engineering foundation is laid.
1. Solar Site Survey
A qualified engineer will visit your premises to assess:
- Shadow Analysis: Identifying nearby trees, water tanks, or taller buildings that might cast shadows during peak sunlight hours (9 AM to 4 PM).
- Structural Integrity: Can your roof handle the load of the panels and the mounting structure? For older buildings, we often recommend specialized lightweight or reinforced structures.
- Orientation and Tilt: In India, panels are generally south-facing to maximize sunlight absorption. The ideal tilt angle usually ranges between 10° to 25° depending on your specific latitude.
2. Custom System Design
Once the data is collected, designers use software to create a 3D layout. This ensures that the panels are placed optimally for maximum generation while leaving space for maintenance walking paths. If you have a flat roof but want to use the space below the panels, you might opt for an elevated structure. You can learn more about these options in our guide on best structures for solar panels.
Phase 2: Documentation and Approvals (The Paperwork)
In the modern solar installation process India, much of the paperwork is handled digitally through national and state portals. However, you must have your documents ready to avoid delays in subsidy processing and net meter installation.
Documents Required for Solar Installation
| Document Category | Specifically Needed |
|---|---|
| Identity Proof | Aadhaar Card, Voter ID, or PAN Card |
| Address Proof | Latest Electricity Bill (Must match Aadhaar address) |
| Property Proof | Property Tax Receipt or Sale Deed (In some states) |
| Site Photos | Clear photos of the rooftop before installation |
| Bank Details | Cancelled Cheque (For subsidy credit) |
DISCOM and Net Metering Applications
Your installer will apply for 'Feasibility Approval' from your local DISCOM (such as BSES Rajdhani or PVVNL). This ensures the local grid transformer can handle the additional power your system will export.
The Net Metering in India process is what allows you to "bank" your excess units with the grid and get credited on your bill. Without this, your savings would be significantly lower.
Phase 3: The Physical Installation Day
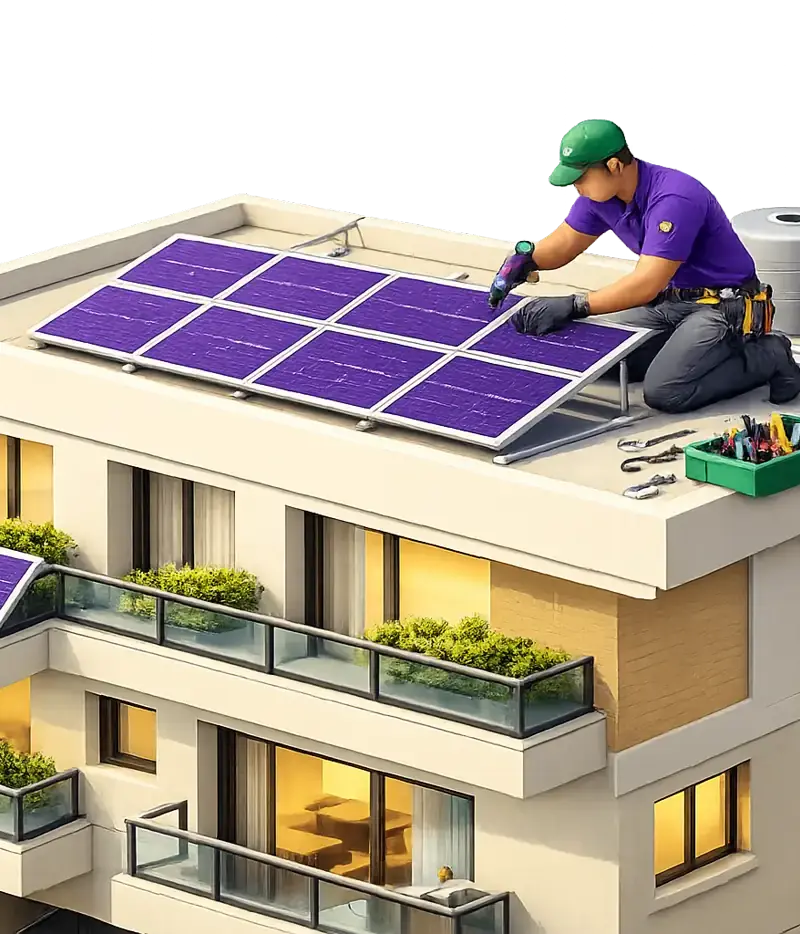
Once approvals are in place and the material is delivered, the actual solar panel installation steps begin. This usually takes 3 to 5 days, depending on the system size and structure complexity.
1. Structure Mounting
The mounting structure is the skeleton of your system. It must be strong enough to withstand high wind speeds (up to 150 km/ph). At Bridgeway Power, we use Hot Dip Galvanized (HDG) steel or Aluminium to prevent rusting.
- Anchor Fastening: The legs of the structure are securely bolted to the roof.
- Civil Work: Concrete pedestals (padi) are often cast around the legs to ensure it never moves, even in a storm.
2. Module Mounting
The solar panels are carefully lifted and bolted onto the structure. This is a precision job; even a small crack (micro-crack) caused by rough handling can reduce the panel's lifespan and efficiency.
3. Electrical Wiring & Inverter Setup
- DC Cabling: The panels are connected in "strings" and wired to the DC Distribution Box (DCDB).
- Inverter Installation: The heart of the system—the inverter—is mounted, usually in a shaded but well-ventilated area. It converts the DC power from panels to AC power for your home.
- AC Cabling: From the inverter, the power goes to the AC Distribution Box (ACDB) and then to your home’s main electrical panel.
4. Earthing and Lightning Protection
To protect your expensive equipment and your home, we install dedicated earthing pits. A Lightning Arrester (LA) is also installed at the highest point of the structure to divert any potential lightning strikes safely into the ground.
Phase 4: Testing, Commissioning, and Net Metering
Once the physical rooftop solar installation process is complete, we don't just "flip the switch." There is a rigorous testing phase to ensure safety.
1. Internal Testing
We check the voltage and current at each string to ensure the panels are performing as per their ratings. We check for any earthing leaks or loose connections.
2. DISCOM Inspection
A Junior Engineer (JE) from your DISCOM will visit your site. They will verify that the installation complies with the Ministry of New & Renewable Energy (MNRE) guidelines and that the components used (panels and inverters) are from the Approved List of Models and Manufacturers (ALMM).
3. Net Meter Replacement
This is the final step of the solar installation process India. Your old unidirectional meter is replaced with a Bi-directional (Net) Meter. This meter records two things:
- Units you take from the grid.
- Units you export to the grid. Your bill will now reflect the "Net" consumption.
Talk to a solar engineer — not a salesperson
Check whether we install in your area, then get your answer on WhatsApp. No forms, no call centre.
What would solar save on YOUR bill?
Project Timeline: Inquiry to Power-On
How long does it actually take? While the physical work is fast, the regulatory steps take time.
Installation Timeline Breakdown
| Stage | Process Description | Timeline |
|---|---|---|
| Day 1-3 | Inquiry, Site Survey, and Quote Finalization | 3 Days |
| Week 1 | Application for Feasibility (DISCOM) | 7-10 Days |
| Week 2 | Material Procurement and Logistics | 5-7 Days |
| Week 3 | Civil and Electrical Installation | 3-5 Days |
| Week 4-6 | Inspection, Net Metering, and Commissioning | 15-20 Days |
| Total | From Start to Savings | 45-60 Days |
Real Example: A 5kW Installation in Dwarka, Delhi
Let’s look at a real-world case study from 2025. Mr. Sharma, living in Dwarka, had a monthly bill of ₹8,500. He decided to install a 5kW system.
- Design: Because he wanted to use his roof for evening tea, we installed an elevated structure with a 10ft clearance.
- Process: He used the Solar Calculator on our website to estimate his savings and opted for SBI Solar Loan financing.
- Execution: The installation took 4 days. The net meter was installed by BSES in the 5th week.
- Results: His bill dropped from ₹8,500 to roughly ₹1,200 (fixed charges + taxes). He also receives a Delhi GBI (Generation Based Incentive) of ₹3 per unit, adding another ₹1,800 to his monthly "earnings."
Maintenance: Keeping the Power Flowing
The rooftop solar installation process doesn't end when the sun starts powering your home. To ensure your system lasts the promised 25 years, maintenance is key.
In India, dust is the biggest enemy of solar panels. Research shows that dirty panels can lose up to 25% of their efficiency. Periodic cleaning and an annual check-up of electrical connections are vital. You can check out our detailed Solar AMC Plans to see how we automate this for our clients. For DIY enthusiasts, read our guide on solar panel cleaning tips.
Frequently Asked Questions
What is the first step in the solar installation process in India?
The first step is always a site survey. Before buying any panels, a professional must assess your roof’s orientation, shadow factors, and structural strength to determine if it’s suitable for solar.
Do I need to apply for the subsidy myself?
While you can apply through the national portal, professional installers like Bridgeway Power facilitate the entire process for you—from initial application to ensuring the subsidy is credited to your bank account after commissioning. You can find more details in our subsidy guide.
How long does the actual rooftop solar installation take?
The physical installation on your roof typically takes 3 to 5 days for a residential system. However, the entire process, including DISCOM approvals and net meter installation, usually takes 45 to 60 days.
Can I install solar on a rented roof?
Yes, but you need an NOC (No Objection Certificate) from the property owner. Alternatively, if you don't have rooftop access, you might explore Community Solar or Virtual Net Metering.
Is the solar installation process different for apartments?
For individual flats, you often need permission from the RWA. If the roof is common, Group Net Metering or Virtual Net Metering is the best approach. See our specific guide on solar for apartments in Delhi.
What happens if it rains during the installation process?
Professional installers track weather patterns. If it rains, electrical work is suspended for safety. High-quality structures and properly sealed conduits ensure that the system remains water-tight once completed.
Conclusion
The solar installation process India has become a high-tech, standardized journey. By choosing the right partner and understanding the solar panel installation steps, you can turn your roof into a mini power plant that pays for itself in just 3 to 4 years.
With 5,000+ happy installations and a 4.6-star rating, Bridgeway Power is here to handle every step of your solar journey—from the first screw to the final subsidy credit.
Ready to start your installation? Calculate your savings here or contact us for a free site visit today! Let’s make your home a part of India's green revolution.
Structure selection happens before mounting day; the solar structure guide explains which type your roof needs.
Every 1 kW of solar on your roof offsets 1.5 tonnes of CO₂ per year
That's 40 trees planted — every year, for 25 years.
A typical 5 kW home system offsets 187 tonnes of carbon over its lifetime. That's equivalent to taking 8 cars off the road.
See your impact →How much can you save with solar?
Enter your electricity bill → get system size, subsidy amount & payback period
Get StartedLiked this article? Get a free solar quote
Tell us about your rooftop — we'll call with exact savings for your home.
Related Articles
Net Metering in India: How to Sell Solar Power Back to the Grid
Learn how net metering in India allows you to sell solar power back to the grid. Discover state policies, savings examples, and how to reduce your bill by 90%.
Read moreWhat Is Captive Open Access Solar (100% Equity Model)
Learn how Captive Open Access Solar (100% Equity Model) helps Indian businesses cut electricity costs by 40% using off-site solar plants. Guide on rules, savings & ROI.
Read moreSolar Installation Cost in Delhi NCR 2026: 3 kW at ₹1.32L net
Updated 2026 guide to solar costs in Delhi NCR. Learn about PM Surya Ghar subsidies, system pricing from 1kW-10kW, and how to reach zero electricity bills.
Read moreRelated guides
Delhi Electricity Rate 2026
BSES & Tata Power per-unit rates, PPAC, subsidy — sourced from DERC.
ExploreDelhi Solar Policy 2026
Free rooftop solar up to 3 kW for homes under 400 units. Eligibility & apply.
ExploreSolar Panel Price in Delhi
Live 2026 rooftop prices in Delhi after ₹1.56L subsidy. 1,200+ installs.
ExploreSolar Company in Gurgaon
Gurgaon's rooftop solar installer — 800+ systems, ₹78K PM Surya Ghar subsidy.
ExploreSolar Company in Noida
Noida & Greater Noida rooftop solar — 500+ installs, ₹1.08L stacked subsidy.
ExploreSolar Panel Price in Faridabad
Live 2026 Faridabad prices after ₹78K PM Surya Ghar subsidy. 350+ homes.
Explore